Guides
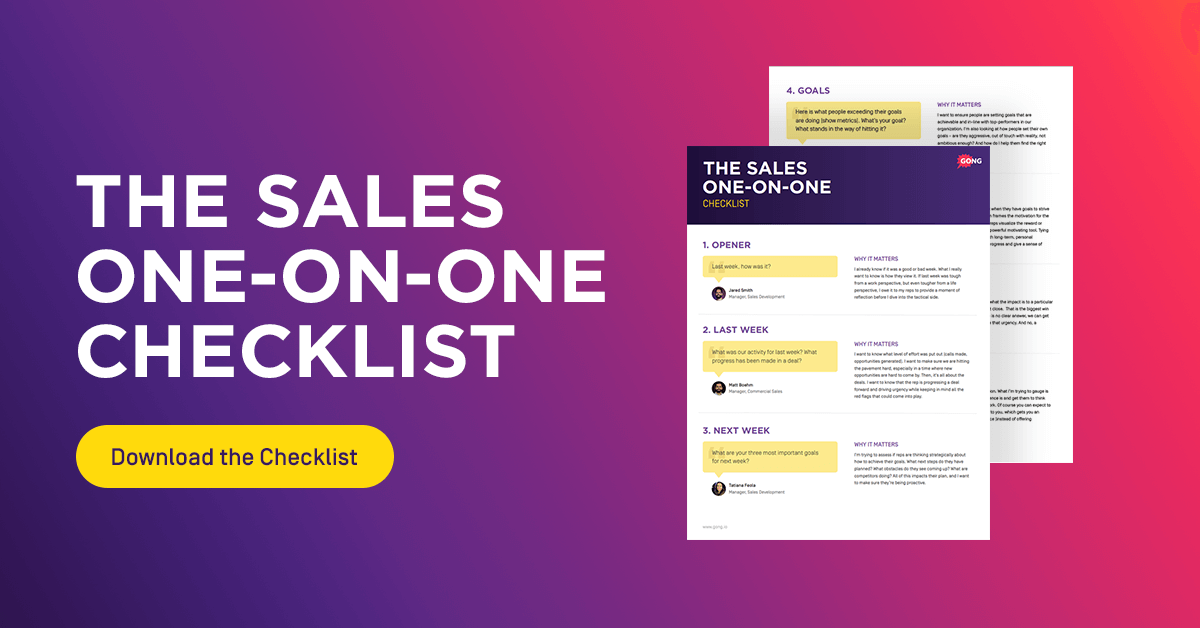
The sales one-on-one checklist
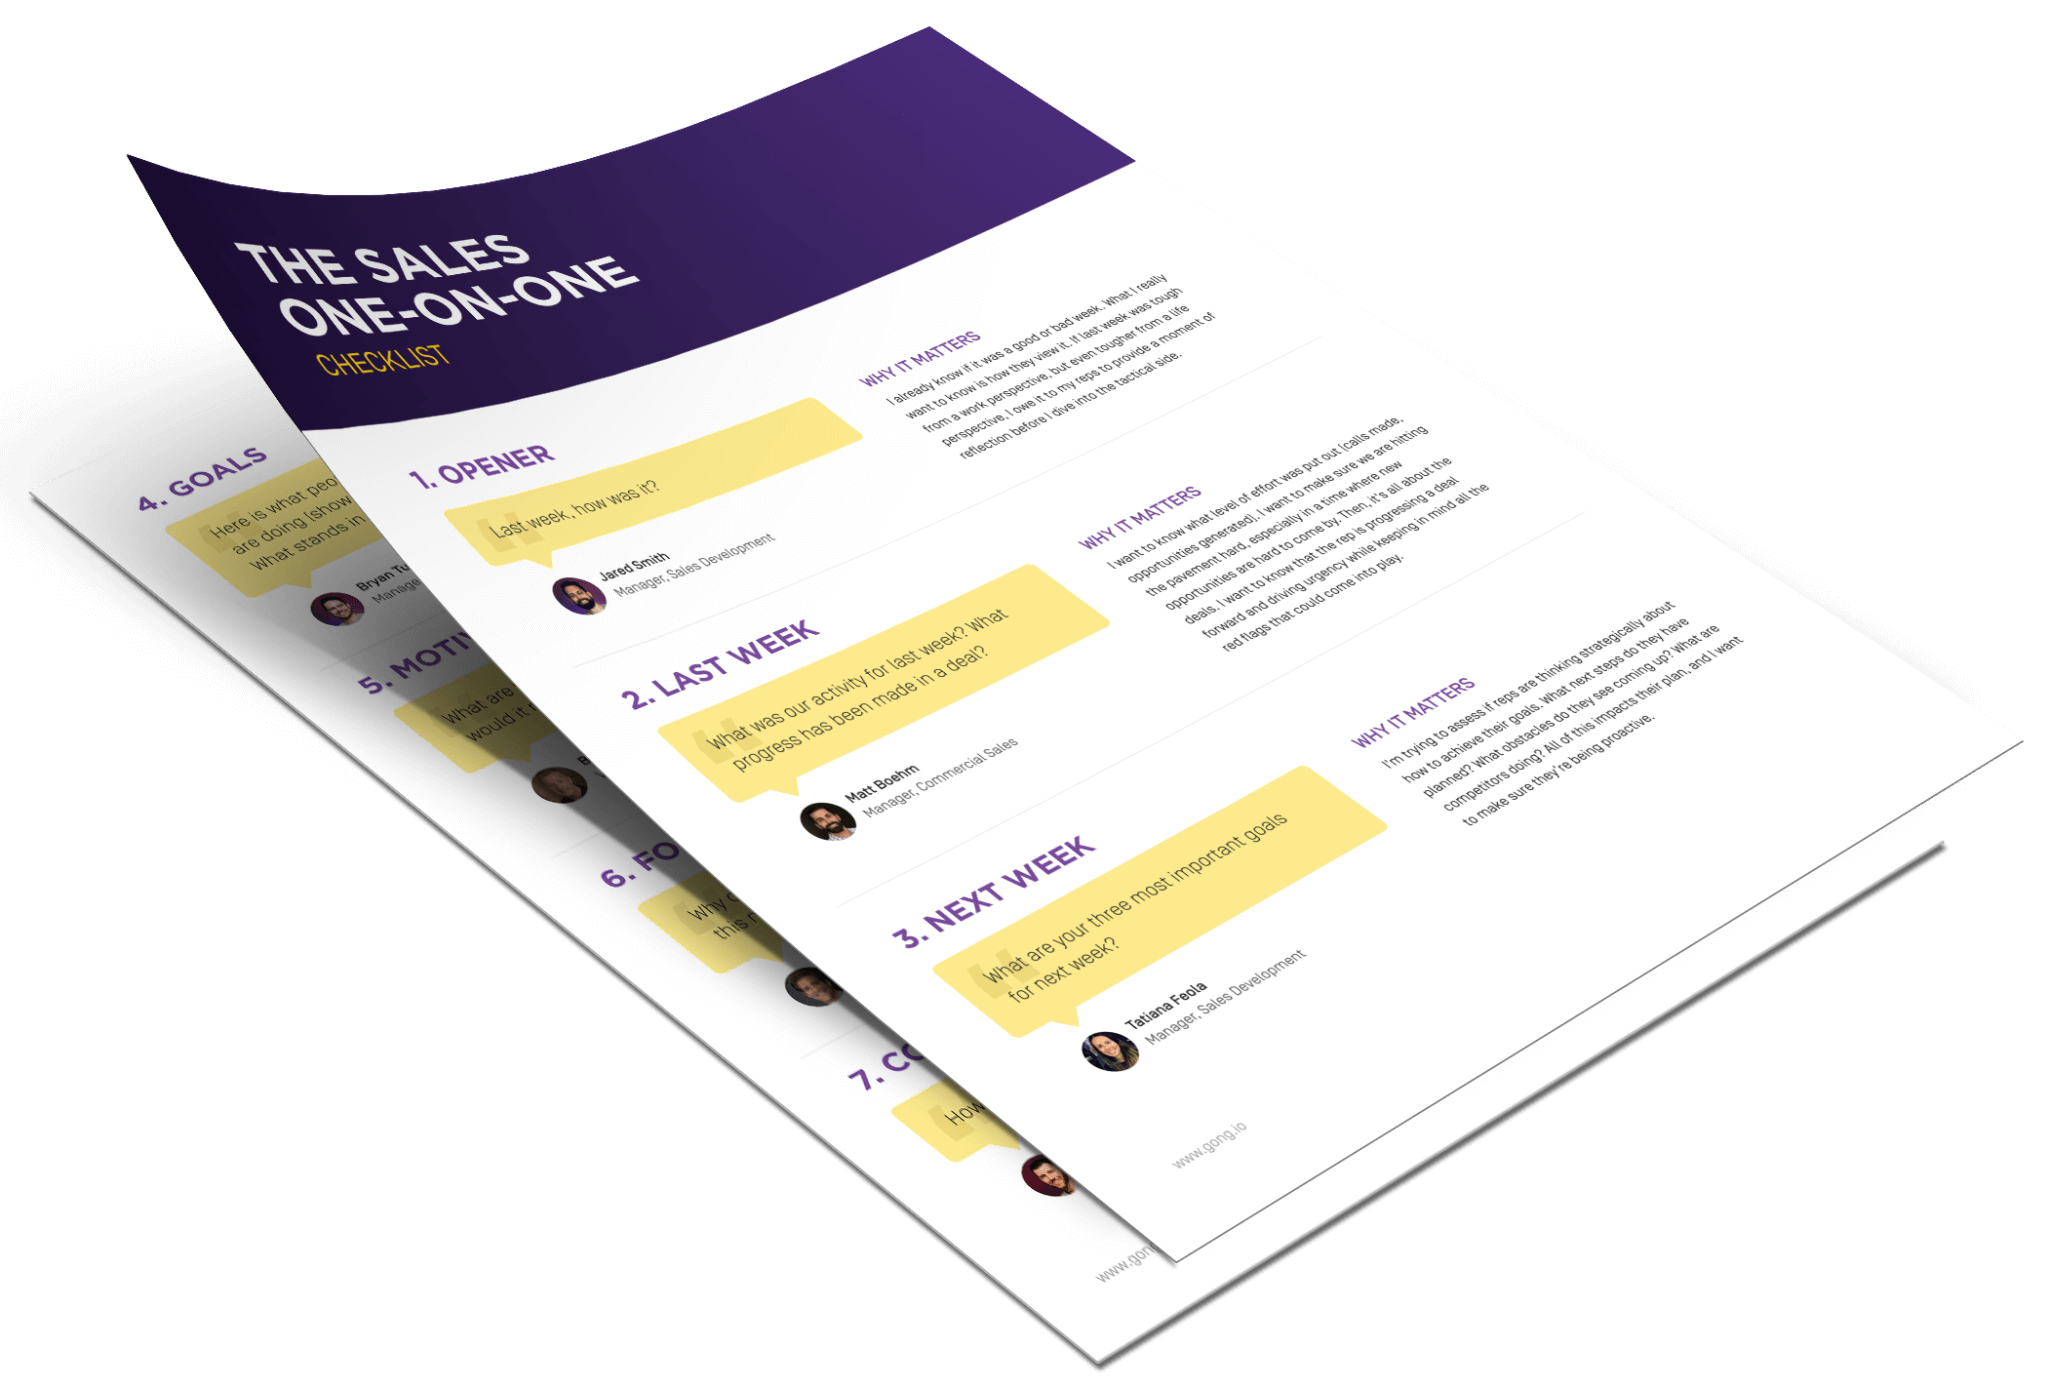
Here’s what’s included
- Coaching superpowersShake off a bad call, strategize, and tee your reps up for success.
- Pure motivationTurn your one-on-ones into the highlight of their week, every week with these 7 questions.
- Goal trackingWatch your team pick up steam and set your reps on an unstoppable winning streak.
How to use the checklist
- Steal these 7 questions: top practitioners share their secrets for running remote one-on-ones that uplevel your reps.
- Use them in your next one-on-one: includes questions and active listening tips so you can start making the most of your check-ins with your reps.
- Sets and reps: rinse, repeat, and build your team’s momentum. Week in. Week out.
ONE HUNDRED PROOF ONE-ON-ONES
Leave your next one-on-one feeling pumped.